


Record Original Quality Audio and Video with Screenshot
An Essential Guide to Capturing Full Quality Screen Recordings with Screenshot and BlackHole
BlackHole can be configured using the macOS utility application, Audio MIDI Setup to route the Mac’s internal audio to Screenshot to enable original quality audio paired with your video recordings.
macOS Screenshot Utility
One of the most powerful features built into macOS is the utility application, Screenshot. It allows you the ability to capture images of anything on your Mac’s display and even high-resolution video recordings. This means that any video content visible on your display, including video conferencing, can be recorded to a .mov video file for later playback.
There is a limitation in Screenshot, however, that restricts the ability to record the internal audio with video when recording the content playing on your Mac. Instead, the audio can only come from the sound output through your Macs external speakers and recorded by your built-in microphone. Obviously, the quality of this audio suffers as a result and while you can record high-resolution video, the audio component leaves much to be desired.
BlackHole: Audio Loopback Driver
Thankfully, there is an open source solution in the form of BlackHole.
BlackHole is an audio loopback driver that can route the audio from one application to another with zero latency. BlackHole can be configured using the macOS utility application, Audio MIDI Setup to route the Mac’s internal audio to Screenshot to enable original quality audio paired with your video recordings.
In order to accomplish this, we will start by downloading the latest version of BlackHole. The BlackHole driver can be downloaded by choosing the ‘I can’t afford to donate’ free option or by selecting the ‘Donate $10’ to support continued development option with a payment through Stripe. Enter the email address where you would like to receive the download link of the latest version and your first and last name (or the first initials of your email address for privacy). Click the download link which will be active for 24 hours. Under the Download section of the page, click the ‘BlackHole 2ch’ button:

Open the ‘BlackHole2ch.pkg’ file within your Downloads folder and continue through the installer process window to complete installation. When you have successfully installed BlackHole, you will see the following window:
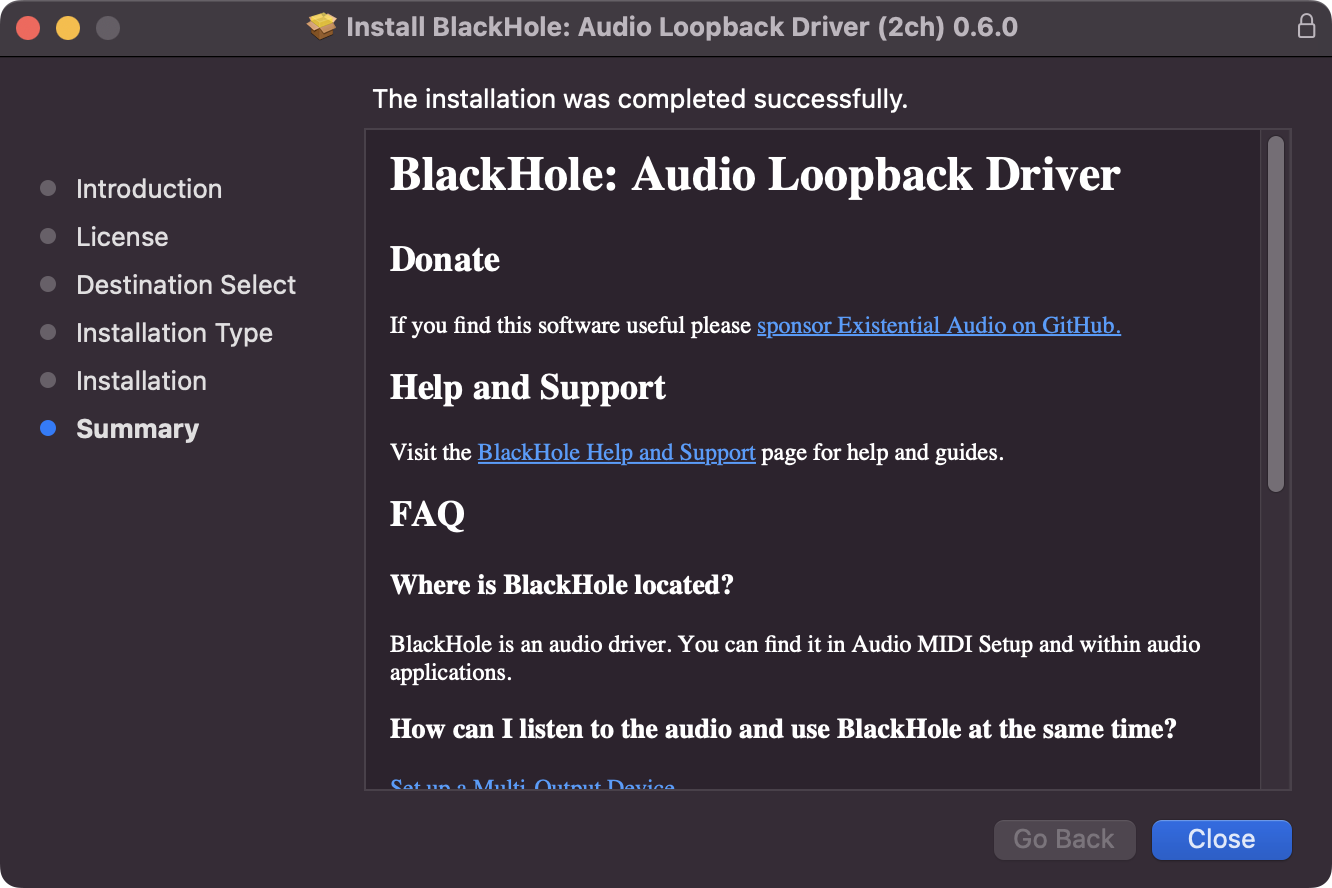
Now, we can move to the process of configuring BlackHole within Audio MIDI Setup to fully integrate with Screenshot.
Configuring Audio MIDI Setup
Recording without “Live” Audio Playback
Now that we’ve installed BlackHole, we can configure it to work directly with Screenshot through Audio MIDI Setup. There are times when making screen recordings that you might not want your external speakers to play the “live” audio while the recording is in progress. Let’s look at how to interact with the default ‘BlackHole 2ch’ audio device that enables full-quality audio with video capture and keeps the “live” audio silent by blocking the sound to your external speakers.
Open Audio MIDI Setup ⌘Command-␣Space bar for Spotlight and type ‘audio’ press ↵Return with Audio MIDI Setup selected)
Click on ‘BlackHole 2ch’ in the device list
Make sure the ‘Clock Source:’ is set to ‘Internal Fixed’
Set the ‘Format’ to 48,000 Hz (if not set by default)
Set ‘Primary’ 1.0 (if not already set to that maximum value)
Your Audio MIDI Setup window should look like this:

Recording with “Live” Audio Playback
We can now move to a more complex audio device setup that will give us the option to record video and internal audio while listening to the recording in-progress through external speakers. Let’s learn how to do this by creating a ‘Multi-Output Device’ in Audio MIDI Setup:
Open Audio MIDI Setup (⌘Command-␣Space bar for Spotlight and type ‘audio’ press ↵Return with Audio MIDI Setup selected)
Click the ‘+’ (plus) icon at the bottom left of the Audio MIDI Setup window and choose ‘Create Multi-Output Device’:

Audio MIDI Setup: Create Multi-Output Device Double-click the ‘Multi-Output Device’ title and re-title it ‘BlackHole 2ch + Speakers’
Click the checkmark for ‘BlackHole 2ch’ under ‘Use’ ‘Audio Device’ in the Audio Devices window for the new device you created in step 3
Make sure the box under ‘Drift Correction’ is checked for ‘BlackHole 2ch’ and that ‘Use’ ‘Audio Device’ is checked for ‘Built-in Output’
Set the ‘Sample Rate:’ to 48.0 kHz

This is how the Audio Devices window should look when everything is configured correctly:

You now have two BlackHole routing devices that can be used to record the full-quality internal audio from whatever content is playing on your Mac with or without “live” audio playback! Let’s look at how to actually use these new audio devices in practice to make this happen.
Recording Original Quality Audio and Video with Screenshot
Now that we have configured two audio routing devices in Audio MIDI Setup, we can use either one as an output source to use in combination with the built-in Screenshot:
If listening to the content while recording, set the desired output volume for your Mac’s external speakers (this cannot be changed later)
From the ‘Sound’ item in the menu bar or from System Settings, choose ‘BlackHole 2ch + Speakers’ or the ‘BlackHole 2ch’ option if recording without “live” audio playback
Set up the window of a video streaming application like a web browser or Zoom session
Press ⇧Shift-⌘Command-5 to invoke Screenshot
Click ‘Record Entire Screen’ in the tools panel if you want full-screen recording or ‘Record Selected Portion’ if a selected area is desired
Click ‘Options’ in the tools panel and select ‘BlackHole 2ch’ under the ‘Microphone’ section
Click ‘Record’ in the tools panel or click the camera icon anywhere on the screen to begin the recording session*
Press play in your video streaming application to initiate playback for the recording session
Upon the conclusion of your video content, click the ‘Stop’ icon (a solid circle with a square inside) on the left side of the menu bar to end the session and automatically save your recording to the Desktop
*Note: Keep in mind that many video players (including those in a web browser) offer a shortcut to enter Full screen mode. This is often the ‘F’ key and by using it after pressing ‘Record’, you can usually eliminate the arrow pointer from being captured in the Screenshot recording. You may or may not need to add the ␣Space bar after the ‘F’ key to begin playback. It is not required on YouTube for instance.
Cleaning Up the Recording
Once you have your recording, it is a good idea to use Quick Look to preview your video and perform some simple editing:
Select the Screen Recording on your Desktop and press the Space bar
Use the Trim button on the left side of the upper right corner in the preview window to set the start and end points of the video:

Next drag the handles in the trimming bar on the left (start point) and right (end point) to the desired points and preview the changes by pressing the play button:

Press ‘Done’ in the upper right corner and select ‘Replace’ if confident with your edits or ‘New Clip’ if you want to double-check them before deleting the original file and allow the export process to complete
Rename the file by Right-clicking (Control-click) and selecting ‘Rename’ from the context menu or by clicking the file and pressing ↵Return
Type something memorable that accurately describes the recorded content
You have now created an edited and aptly-named screen recording with original quality audio and video!
Concluding Thoughts
Having the ability to capture original quality audio with your video recordings from your Mac’s display is a valuable enhancement to macOS. You now have a flexible way to capture a wide variety of useful content streaming across the web. It is also important to remember that with great power comes great responsibility, so be careful to use this capability ethically in keeping with your local copyright laws, privacy protections and fair use rules, etc.
I hope you will find many profitable uses for integrating BlackHole with Screenshot for your research, learning and archival purposes. Thanks for reading and please consider subscribing to Apple Dispatch to become part of an outstanding community and so that you won’t miss out on the next post!
Helpful References:
Take screenshots or screen recordings on Mac
https://support.apple.com/guide/mac-help/take-a-screenshot-mh26782/mac
View and edit files with Quick Look on Mac
https://support.apple.com/guide/mac-help/preview-a-file-mh14119/mac